|
Split GUI: Client and Controller
We have split MiNT-2 GUI into client and controller parts. With this approach, user only has to run the lightweight client GUI; avoiding the need to have entire MiNT controller installed at his machine.
Uploading and executing ns3 script
MiNT-2 GUI offers simple interface to perform following actions.
1. Initialize robots
2. Set topology
3. Upload the ns3 script
4. Execute the ns3 script
The interface allows setting positions of robots either by clicking on the drawing area; representing experiment grid and then hitting 'Topology' button
or by selecting a particular robot using a spin button, setting co-ordinates for it and then hitting 'Send' button.
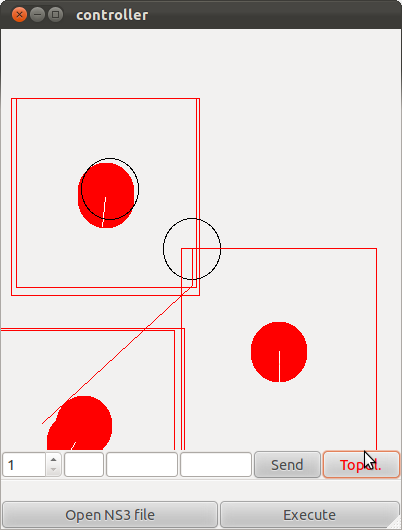
Below is a sample snapshot of the interface.

The red filled circles represent the robot; or in other words 'node' in an experiment. The white line within it shows the direction. The empty black circle represents intended position, showing a red line from current position, which is path its intended to take.
Interpreting outcome of an experiment
As a result of executing an experiment, pcap logs are generated on each node. Pcap logs contain details of every packet sent or received by the given node.
These pcap files can be analyzed with tcpdump or wireshark.
An experimenter can also choose to see the results as an animation using NetAnim tool.
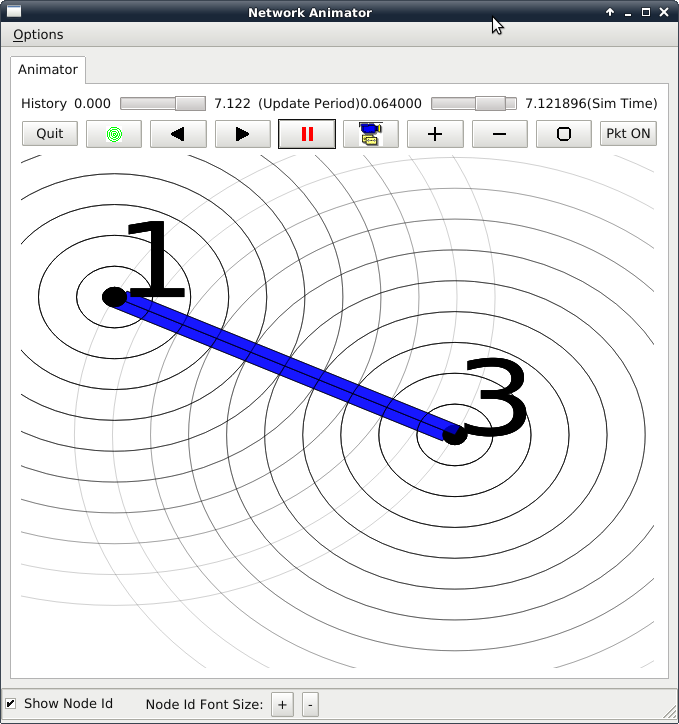
MiNT-2 provides a pcap parser, which collects logs from all nodes and processes them to generate a single XML file representing entire execution. This file can be fed as an input to NetAnim; which animates the nodes and network traffic.
Below is a snapshot of NetAnim in action:

|